Showing posts with label wine recipe. Show all posts

Monday, December 19, 2011

White Balloon Wine

This is such an easy balloon wine recipe, and it turns out great!
Click here to see all balloon wine recipes!

Recipe:

3 cans white grape juice concentrate
1 1/2 cups sugar
water
yeast

Using all sanitized equipment and containers, add grape concentrate, sugar, and water to a one gallon container. Cap and shake to dissolve your sugar. Then, add in your wine yeast. Poke a balloon with a pin a few times, and put the balloon over the container.

This generally needs to ferment 10 to 15 days at room temp. Then it needs time to clear. Racking is optional, but might make for less sediment in your bottles.


Tips:

1.) Use a white wine yeast, I had awesome results with K1V-1116
2.) Age the balloon wine in the bottle for about ten months before drinking if you can wait. I did, and it was really worth it.

Tuesday, December 6, 2011

Balloon Wines

The reason I started the Winemaker's Notebook was to provide a resource for beginner winemakers. When I first started making wine, I had no idea what I was doing, and my google searches led me to sites talking about brix, pH, specific gravity, hydrometers, airlocks, strains of yeast, nutrients, enzymes, tannins, and a whole slew of other things to do with wine making. Even though I could figure what most of these things were, and being in biology many of them were extremely familiar, it wasn't as if I had all of the equipment and ingredients and additives to start right out, and that's what I wanted to do. I wanted to go to the market, buy a few things, and make wine.

It can be done.

In an effort to make this site of even greater value to the beginning winemaker, I am introducing a new section of the site totally dedicated to balloon wines.

What the heck is a balloon wine?

Balloon wine is wine so simple, that the only "special" equipment or ingredient that is necessary to make it is wine yeast, which can be ordered on line for about 50 cents.

Balloon wine is essentially all the ingredients, thrown into a sanitized container, with a balloon slapped on top. It may seem rather rudimentary, but it is indeed the first step that I took in winemaking, and led me to what I do today.

a balloon airlock, left, and a plastic airlock, right

The best part is the extremely low start-up cost. For right around five dollars one can get their juice, their balloons, their yeast, their sugar, and a container. Then, you're on your way to making your first gallon of wine!

Beginning next Monday, and every following Monday for a number of weeks, a balloon wine recipe will appear on the site! Many of the recipes will have an equivalent in the regular recipe section, but you'll notice minor differences in all of them, and major differences in others. All of them will make a decent wine. There will also be a balloon wine section under the "Guides" column on the right hand side of the page, and "Balloon Wine" will be listed under the recipes column. Either of these links will take you to all of the site's balloon wine recipes. Check back often, because as I said, a new recipe will appear each week!

Monday, November 28, 2011

Banana Wine


The Ramble: Doesn't it sound so tropical? For a long time I knew that people made banana wine, and I had even read some banana wine recipes, but I didn't think I would like it. Then the more I thought about it, the more I needed to try it, and the better it sounded to me. Plus, I got five pounds of bananas for free! One of the coolest things about this recipe is that you chop up the banana skins to get out their natural tannins. They can be used in other wines too, but beware, they may leave a hint of banana on the nose!


Recipe:

4 lbs. peeled, chopped bananas (about 15-20 bananas)
juice of 2 lemons or 2 tsp. citric acid blend
1/4 to 1/2 lb. of chopped banana skins (4-5 skins)
1 gallon water
2 lbs. sugar
1 tsp. yeast nutrient
1/2 tsp pectic enzyme
white wine yeast (used K1V)

Peel bananas, chop bananas and skins, add to stock pot. Add water. Add lemon juice or acid blend. Bring to a boil, then simmer for 30 minutes. Let cool to room temp. This extracts tannins, sugars, flavor, and kills of wild yeasts. Add pectic enzyme, let sit overnight.

Next day, strain out the pulp/skins. Add sugar and nutrient, stirring well to make sure everything is dissolved. Add wine yeast, place in sanitized fermentor with an airlock, and voila!

This wine can take a long time to clear, just be patient. Bottle age for one year, if you can wait.

Enjoy.

Monday, November 21, 2011

Blueberry Wine

Introduction: This is a pretty clear cut, simple, and delicious recipe for a medium-to-full bodied blueberry wine. For a full-bodied wine, try 3 lbs of blueberries per gallon, for a lighter-bodied wine, try 2 lbs. Frozen berries will work. It is the most beautiful wine, too. Unbelievably purple.


Recipe:
2 1/2 lbs blueberries
boiling water to one gallon
2 lbs sugar (about 4 1/2 cups)
1/2 tsp. pectic enzyme
1 tsp. yeast nutrients
wine yeast (used montrachet)


Place blueberries in a stock pot, if frozen, allow to thaw. In another stock pot, boil about 1 gallon of water. Very carefully pour the hot water over the blueberries. This kills of wild yeasts. You can put in your sugar now, as it dissolves easier in hot water.

Let it all reach room temperature, then stir in your pectic enzyme. Let the mixture sit overnight. Add in your yeast nutrients and wine yeast.

After two days strain the must with cheese cloth, a nylon strainer bag, a turkey stuffing bag... whatever food safe device that works for you. Get all that juice out!

Put the juice in the fermentor with an airlock. Rack if/as necessary. Bottle when ready!

Enjoy it, it is delicious!

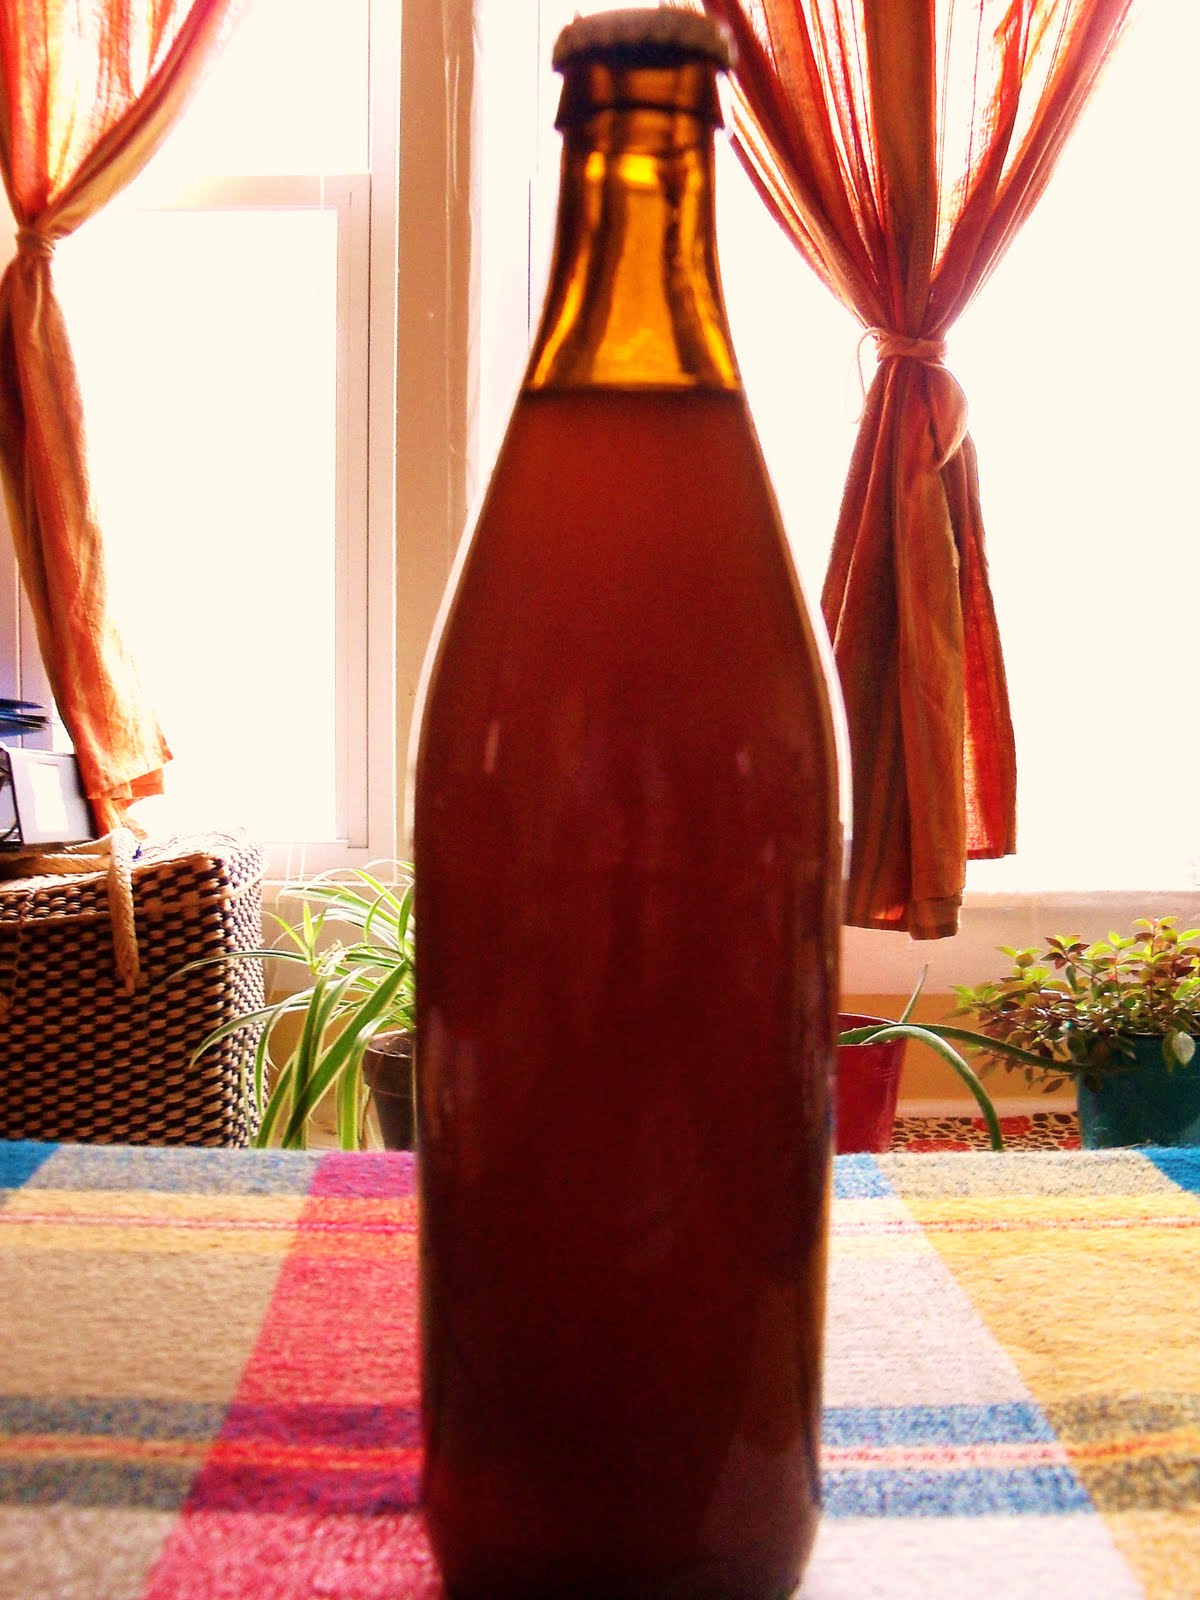
( photo on left: I had more juice than I could fit in my one gallon primary, so I threw it in a corona bottle with a balloon on top! Whatever it takes!)

The Winemaker

Tuesday, November 15, 2011

Pumpkin Ale

I made another beer. A while ago actually. Caity bought a kit for me from Midwest home brewing for my birthday, part grain part extract, for Pumpkin Ale. Just in time for Thanksgiving and Christmas... if it lasts that long.

So, here's the deal with these kits: they're a ton of fun, they have everything but the water, and they're super easy. Also, you don't need a ton of equipment--in fact, if you have what it takes to make a five gallon batch of wine, then you're pretty much set to make a five gallon batch of beer except, I suppose, for bottles, caps, and a capper, all of which are cheap, and bottles can be free if you've got a few friends willing to donate them to a good cause. I think that was a run-on sentence.

Anyway, with these kits, you basically crush up your grains with a rolling pin, put 'em in a boiling bag, and steep them in a few gallons of water for fifty minutes at about 150 degrees, like a big tea bag. Then you add in your malt extract and sugar, and bring it to a boil. Then you add in your hops, and let it keep boiling for about an hour. Then for the last five minutes, you add in some more hops--aroma hops. Then you cool it all down, put it in your bucket, fill it up to five gallons, pitch your yeast, and you're on your way to having beer! It takes more time than some wine... it takes less time than some wines, but what I like is that the payoff is so fast. You can be drinking your homemade beer in a month's time.
This beer is taking a little longer to clear for me, I made it back on October 3, my birthday. I'm making a guess and saying its because of the pumpkin juice having lots of pectin in it, but it tastes grand. A little hoppier than the Irish Red ale that I made not too far back. It's amazing that for less than 50 cents a bottle, you can make much, much, much better beer than you can buy in the store.

If you're a winemaker that appreciates beer, consider giving home brewing a try, the kits are a great way to start!

PS. I also just brewed a Belgian style wheat beer with orange peel and coriander the other day; I put the recipe together myself. I'll post it sometime in the next week or so, and hopefully you home brew buffs can check it out and give me some feedback!

Richard

Friday, November 4, 2011

All about White...

There's a recipe, over there on the left, called white hillbilly wine. Now, I was a little apprehensive about putting it up in the beginning, because the white wine was only a few months old, and I didn't like it all that much. Cait did though, she thought it was pretty good, and pointed out that I'm not all that inclined to white wines anyway, and so she convinced me to put that post up.

Well, the wine's almost a year old now (or was until we finished it off a few days ago), and between months nine and eleven, something happened, the harshness smoothed out, the bouquet became quite smooth, and it had good mouthfeel. It turned into a top-notch wine, and I plan on making three more gallons to have on hand and to age.

It wasn't just me.

We had a wine-tasting with a couple of friends last weekend, which I'll post about later. They tried the white wine, and our friend Hannah said, and I quote, "This is as good as anything you can buy at the wine shop." I was thrilled.

I didn't even bother telling them that it's actually from Welches' white grape juice concentrate. The white hillbilly wine ultimately came out much, much better than the red, and as it's one of the easiest recipes to make, I would encourage anyone who wants to have some cheap fun to make it, or any starting winemakers. The key is definitely patience. Unfortunately, there is no instantaneous gratification with this recipe, it takes time.

The good news is, it's really easy to make, and it takes no effort whatsoever to set those bottles down in the basement and forget about them for a year. You'll be glad you did!

Wednesday, November 2, 2011

Cranberry Wine

So here's the deal with this one. I'm fermenting it right now. Which means the recipe isn't necessarily tried and true by yours truly. I'm not in the habit of doing this. However, cranberry wine is coming very, very highly recommended from several individuals who are quite expert in the way of making country wines, and this recipe is a middle-of-the-road to those recipes that others have tried and claim to be excellent. Mine is almost done fermenting, and I just had a little taste. It was wonderful. Most wines, when I have tried them while they're still fermenting are disgusting. If this one is good being only 85% fermented, I cannot imagine the flavor a year from now! American and Canadian supermarkets are flooded with cranberries right about now, so make some!


2 lbs. cranberries
boiling water to one gallon.
6 cups sugar
1 tsp. yeast nutrient
1/2 tsp. pectic enzyme
less than 1/8 teaspoons tannin (or just don't worry about it)
wine yeast


Coarsely chop cranberries in food processor. Place in sanitized stock pot. Boil water. Very carefully pour the boiling water over the chopped cranberries. Cover and let sit until the must reaches room temperature. Add in pectic enzyme and stir with sanitized spoon. Let sit overnight.
Next day add in nutrient, sugar, tannins and wine yeast. For yeast I used K1V, but I've heard that red wine yeasts also do a really nice job. Make sure everything is dissolved well. Let sit for 1-3 days covered.

Strain the must with cheesecloth, a beer boiling bag, or a turkey stuffing bag into your fermenter. (I doubled up two turkey stuffing bags and it worked marvelously.) Cover with lid, attach airlock, and allow to ferment! Rack as necessary, bottle still (not a bubbly wine or cider!).

Enjoy.

I can't wait for this to age... I am really excited about this recipe, and made 1 and 1/2 gallons.

Get to it!

Friday, October 21, 2011

Sweet Mead

Ramble: This mead recipe is similar to the others that i have posted, but it is probably the only one that will give you a sweet mead. It's simple, quick, and delicious every time. It produces a darker mead, and a very strong mead, so watch out!


Recipe:
5lbs honey
water to one gallon
1/4 tsp. tannins
1 tsp. yeast nutrient
wine yeast (I recommend pasteur champagne)


Combine honey and water in a large pot. Stir to dissolve the honey, and bring to a boil. When it begins to boil, a foam will come to the top of the liquid, skim this off and discard it. (This saves having to do very frequent racking, as without this step your mead will naturally produce sediment over time). This step also kills wild yeasts in your honey, so that no sulfur compounds are needed to kill them off! Allow the liquid to cool to at least 80 degrees Fahrenheit while covered, then add in the tannins, yeast nutrient, and yeast. Place in fermentor, fit with a cover and an airlock, and you're on your way to a dark, strong, sweet mead!


Tips: For an easy way to get your tannins into the must (the juice you're fermenting) see Tannin Tip , and for more information on mead, some helpful tips, and some fun variations, visit my medium mead page: Mead Tips.

Related Recipes: meddyglyn, light mead, medium mead, apple cider, pear cider

Thursday, October 13, 2011

Meddyglyn

Meddyglyn or metheglin is a type of mead of Welsh origin. It takes your basic mead and adds any number of various herbs and spices to produce a cheery drink that goes down smooth. It can definitely be enjoyed any time of the year, but makes an especially nice holiday drink. The amount of honey in the recipe can be 2.2 lbs per gallon; 3 lbs per gallon, or 5 lbs per gallon for a sweeter meddyglyn. This corresponds to the "light mead" and "medium mead" recipes on the site already, and the 5 lb corresponds to a strong, sweet mead.


Honey
Water to one gallon
1 tsp. yeast nutrient
1/4 Tsp. tannins
orange peel
1 cinnamon stick
1/4 tsp. whole or course ground nutmeg
2 cloves
1/4 vanilla bean


Add honey and water to a pot. Heat over low heat until the honey is dissolved. Then bring to a swift boil. Foam will come to the top. Scoop off as much of the foam as possible (this keeps sediment out of the bottles later on). Cool the mixture to about 70 to 80 degrees Fahrenheit. Add in nutrient and tannins. Place the mixture into the primary fermenter, add the yeast.

After about two weeks or when the fermentation seems to stop, rack to secondary fermenter if you're using one, if not go the the next step.

Boil a small saucepan of water. Cut the orange peel up into slices, and boil for five minutes. This gets rid of bitterness. If you have any concerns about bacteria on the vanilla bean or cinnamon stick, you can also boil these for a few minutes with the orange peel. Remove from water with tongs, and add directly to the fermenter. Also add in the other spices. Allow to steep in the mead, which is now becoming meddyglyn. I let mine sit for ten days to two weeks before removing the cinnamon and orange peel, but you can play with this. The longer it sits, the more pronounced the flavor of the spices.

Bottle and enjoy!

Note: Any of the spices can be optional, but I would NOT skip the orange peel, the cinnamon stick, or the nutmeg, but that's my personal taste. This is an awesome recipe to play around with.

Related Recipes: light mead, medium mead, sweet mead, apple cider, pear cider

Saturday, March 5, 2011

Medium Mead

For those unfamiliar with mead, it is a honey wine that likely predates all other fermented drinks. It is such an ancient and widely made drink that it's origins are hard to pin down, but in the west it is most popularly associated with medieval life. I love the idea of mead as an aspect of medieval Europe-- the mead hall where men would gather to boast... but this isn't a lesson on Beowulf, so here's my basic mead recipe, which I've had very good results with:


3 lbs honey
6 oranges squeezed
water to one gallon
1 tsp yeast nutrients
1 campden tablet
1 packet wine yeast


Combine honey, orange juice, water, and campden tablet in sanitized primary fermentor. This is necessary to kill the dormant, wild yeasts living in the honey. Let sit overnight. Add in yeast nutrients and yeast (Lalvin K1-V1116 makes a fantastic mead). Allow fermentation 14 to 18 days. Rack. Rack every three months until very clear. Fine sediment will likely appear on the bottom of the bottle, this is the nature of the honey.

Hint: One way to get beautifully clear mead and to avoid sediment in your bottles is to bring the honey and water to a boil before beginning. Once boiling reduce to simmer. During boiling and simmering a foam will come to the top of the liquid. Skim this off. If you do this for an hour, your mead will clear very well, and you'll see no sediment at the bottom of your bottles over time. This is also very effective at killing the natural yeasts so that no campden tablet is required. It is my preferred method.

Hint two: The better the honey, the better the mead. The local guy that makes honey likely cares about his product a lot more than the supermarket chain, and chances are his price is either lower or competitive.

Hint number three: Mead can be slightly astringent, almost herbal, but not at all unpleasant. This can also be complimented by paying close attention to the type of honey you're using. If you're using raspberry blossom honey, you might try throwing in a handful of raspberries into the fermentor. Wildflower honey might take on a summery twist by chopping a peach into the fermentor.


Related Recipes: meddyglyn, light mead, sweet mead, apple cider, pear cider